

Moving into a brand new home feels like crossing a finish line, but it is really the starting line for a new kind of homeownership responsibility. New construction can hide small oversights, rushed installations, or systems that simply need a season or two to reveal their quirks. Builders and crews move on to the next project quickly, which means the follow-up falls to you. Knowing what to watch, test, and schedule in the first year can save you from costly surprises down the road. This guide walks through the key systems and features that deserve a second look after the trucks drive away.
Testing Every Electrical Outlet and Panel Connection

New homes are wired to current code, but that does not mean every outlet, switch, and fixture was tested under real daily use before you moved in. Panels can have loose breakers, outlets can be wired backward, and GFCI protection in bathrooms, kitchens, garages, and outdoor outlets sometimes gets missed during the final walkthrough. With dozens of outlets installed across a typical new build, it only takes one rushed afternoon on the crew’s schedule for a connection to get overlooked. A simple $10 to $15 outlet tester from any hardware store will flag the most common wiring mistakes, including open grounds, reversed polarity, and hot/neutral swaps, just by plugging it in and reading the light pattern. For GFCI-protected outlets, press the “test” and “reset” buttons to confirm they actually trip and restore power as designed. Walking room by room with this tool in the first month gives you a clear picture of what is working correctly before you are relying on it for a space heater, a hair dryer, or a holiday light display. While you are at it, open the electrical panel and check that every breaker is labeled correctly and feels snug when toggled, since a loose or mislabeled breaker can cause nuisance tripping or make troubleshooting a future problem much harder. If you find a dead outlet, a tripped GFCI that will not reset, or a breaker that feels loose in the panel, note the location and call your builder’s warranty line right away, since most new-construction warranties cover electrical defects for the first year but require you to report them within a specific window.
Even in a brand-new home, electrical systems can have loose connections, mislabeled breakers, or outlets wired without proper grounding. These issues often don’t show up until the house has settled or appliances start drawing regular loads, so testing every outlet and panel connection in the first few months is worth the effort. Walk through each room and plug in a simple device, like a lamp or phone charger, to confirm every outlet is live and working correctly. Pay close attention to GFCI outlets in kitchens, bathrooms, and garages, since these are required by code and need to trip properly when tested with the built-in test button. If you notice flickering lights, warm outlet covers, or breakers that trip for no obvious reason, do not wait to address it. These symptoms can point to overloaded circuits, loose wiring at the panel, or connections that weren’t fully tightened during installation. A licensed electrician can confirm whether the issue is a simple fix or a sign of a larger wiring problem that the builder needs to correct under warranty. Most builder warranties cover electrical defects for the first year, so documenting problems early with photos or a written inspection report can save you from paying out of pocket later.
- Test GFCI outlets in kitchens, bathrooms, garages, and outdoor areas by pressing “test” then “reset” — the power should cut off and restore cleanly each time
- Confirm smoke and carbon monoxide detectors are hardwired (not just battery-powered) and interconnected, so one alarm triggers all of them
- Check that ceiling fans and fixtures are properly grounded, especially in rooms with vaulted ceilings where wiring runs are longer
- Verify outlets near sinks, tubs, and exterior walls are GFCI or AFCI protected as required by current electrical code
- Label your breaker panel if the crew left it blank, testing each switch individually rather than guessing from the builder’s rough notes
- Flag any flickering lights, warm outlet covers, or tripped breakers immediately — these can signal loose wiring behind the walls
Confirming the HVAC System Was Set Up Correctly
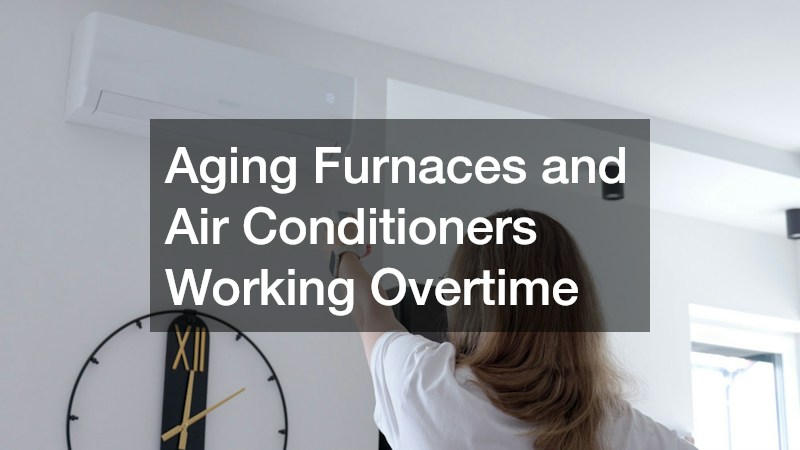
Heating and cooling systems in new builds are sized based on blueprints, but actual airflow and comfort can vary once furniture, window treatments, and daily life enter the picture. Some rooms may run noticeably hotter or colder than others, which often points to duct balancing issues rather than equipment failure. It is worth scheduling an inspection within the first few months to catch these problems while they are still minor adjustments.
Experienced HVAC contractors can check refrigerant levels, duct sealing, and thermostat calibration to make sure everything matches what was promised in your home’s specifications. This early check-in also establishes a maintenance relationship before you actually need emergency service.
- Ask for a copy of the manufacturer’s warranty paperwork
- Request a duct airflow test for each room
- Have the thermostat programming explained in detail
- Schedule the first filter change reminder
Scheduling Your First Professional AC Tune-Up
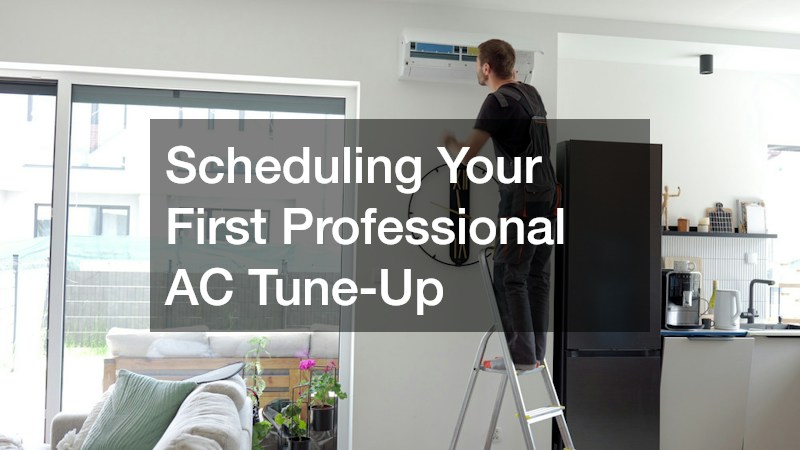
Builders typically install cooling equipment that meets minimum efficiency standards, but that does not guarantee it was commissioned properly for your specific home layout. A fresh AC installation can still have issues like improperly charged refrigerant lines or a condensate drain that was not pitched correctly. These problems often do not show up until the unit has run through a full cooling season.
Getting a professional tune-up before the first real heat wave hits gives you peace of mind and documentation in case something needs to be addressed under warranty. It also helps establish a baseline for how the system should sound and perform when everything is working as intended.
- Check the condensate line for proper drainage
- Verify refrigerant charge matches manufacturer specs
- Inspect the outdoor unit for debris or construction dust
- Confirm the system cycles on and off smoothly
Inspecting Doors and Windows for Proper Seals

Doors that stick, windows that whistle in the wind, or gaps you can see daylight through are common in new construction simply because wood framing settles over the first year. These issues are usually cosmetic at first but can lead to energy loss and water intrusion if ignored. Walking the perimeter of your home and checking every entry point during the first few seasonal changes is a smart habit to build early.
If a door was hung slightly off or a frame was not shimmed correctly, professional door installation adjustments can fix the problem before it becomes a bigger structural headache. Small corrections now are far cheaper than replacing a warped frame later.
- Check for visible gaps around frames with a flashlight at night
- Test that all doors latch without needing extra force
- Look for condensation between double-pane window glass
- Note any sticking that changes with humidity or temperature
Preparing Garage Entry Points for Storm Season
Garage doors are one of the largest moving parts of any home, and new installations sometimes need fine-tuning once they have cycled a few hundred times. Sensors can drift out of alignment, chains can loosen, and the automatic reverse feature should be tested regularly for safety. Many homeowners do not realize how much force a malfunctioning door can exert until something goes wrong.
It is also worth reviewing how your garage door openers were programmed, especially if the system includes smart features like remote access or battery backup. A quick walkthrough with the manual, or a call to the installer, ensures you know how to manually release the door during a power outage.
- Test the auto-reverse safety feature monthly
- Replace garage door remote batteries proactively
- Check weatherstripping along the bottom seal
- Confirm smart app connectivity if applicable
Protecting Windows and Exteriors Before Storm Season
If you live in a region prone to high winds or tropical storms, new construction does not automatically mean your home is fully protected. Builders may have installed impact-rated windows, but exterior protection like shutters is sometimes left as an upgrade option that buyers skip during the rush of closing. Reviewing your coverage before the first major storm watch is far less stressful than scrambling at the last minute.
Reputable hurricane shutters companies can assess your home’s specific window and door openings to recommend accordion, roll-down, or panel systems that fit your budget. Getting measurements done early also means shorter lead times when severe weather season approaches and demand spikes.
- Measure all exterior openings including sliding doors
- Compare accordion, roll-down, and storm panel options
- Ask about wind-load ratings for your specific region
- Schedule installation before peak storm season begins
Checking Septic and Drainage Systems for Early Issues
If your new home is not connected to municipal sewer service, the septic system deserves close attention during the first year of use. Soil settling, landscaping changes, and heavy rainfall can all affect how well the system drains and processes waste. Watching for slow drains, soggy patches in the yard, or odors near the tank area can help you catch problems early.
Many newer developments now use performance based septic systems designed to adjust treatment levels based on household usage, which makes routine monitoring even more important since these systems rely on consistent function to meet environmental standards. Getting a baseline inspection within the first year gives you a reference point for future maintenance and helps you understand pumping schedules specific to your household size.
- Keep a record of tank pumping dates and inspection reports
- Avoid planting trees with aggressive roots near the drain field
- Watch for unusually green or soggy patches in the yard
- Ask your installer about expected maintenance intervals
Finishing Unused Space Like a Basement for Everyday Living
Many new builds include unfinished basements as a cost-saving measure, leaving homeowners to decide later how to use the extra square footage. Before adding flooring, drywall, or electrical outlets, it is worth having the space evaluated for moisture control and proper insulation. Skipping this step can lead to mold issues or uncomfortable temperature swings once the space is finished.
Professional basement remodeling typically starts with a waterproofing assessment, since even newly poured foundations can develop small cracks as the concrete cures and settles. Addressing drainage and vapor barriers before finishing the space saves you from tearing out brand new materials if a leak shows up later.
- Test for moisture with a simple plastic sheet test before finishing
- Install a sump pump if the area is prone to water table changes
- Choose moisture-resistant materials for framing and flooring
- Plan electrical and lighting layout around planned furniture
Adding Outdoor Shade Structures for Comfort and Energy Savings
New homes often come with bare patios or decks that leave outdoor spaces exposed to full sun, which can make them unusable during peak summer months. Beyond comfort, unshaded windows and doors also let in extra heat that forces your cooling system to work harder. Thinking through shade options during your first year can improve both energy efficiency and how much you actually use your outdoor space.
Working with an experienced awning company allows you to choose retractable or fixed options that match your home’s architecture while providing real relief from direct sun exposure. Many modern designs also include wind sensors that automatically retract the awning during storms, which helps protect the investment without requiring you to remember every time weather shifts.
- Compare retractable versus fixed awning styles
- Ask about UV-blocking and water-resistant fabric options
- Consider motorized options with wind and sun sensors
- Measure shade coverage at different times of day before choosing size
A new build gives you a clean slate, but that blank canvas still requires attention, follow-up, and the occasional professional inspection to make sure everything performs the way it should. Treat the first year as an extended warranty period where small checks now prevent expensive repairs later. Keep a simple checklist, schedule inspections seasonally, and do not hesitate to call in specialists when something feels off rather than waiting for a bigger problem to surface. Your home is still settling in, and a little proactive care during this window pays off for years to come.