
- Removing a painted popcorn ceiling is doable with patience, the right tools, and proper preparation.
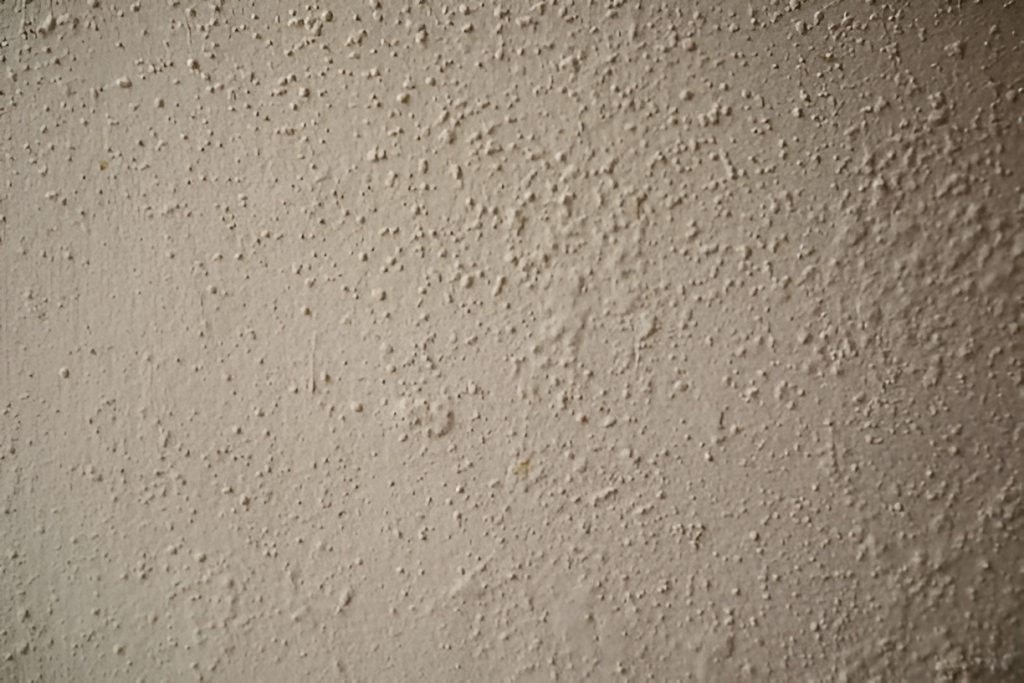
- Painted popcorn ceilings are harder to soften than unpainted ones, so careful techniques are needed to avoid damaging the drywall.
- Proper room preparation—covering floors, furniture, and electrical fixtures—is essential to minimize mess and protect your home.
- Key tools include a wide putty knife or ceiling scraper, spray bottle or garden sprayer, safety gear, and optional power tools for larger spaces.
- Working in small sections, keeping surfaces wet while scraping, and taking breaks helps make the process more manageable.
- Minor ceiling damage can be repaired with joint compound, sanding, and priming before painting for a smooth finish.
- Alternatives like skim coating, ceiling overlays, or hiring a professional exist if full removal is too time-consuming or challenging.
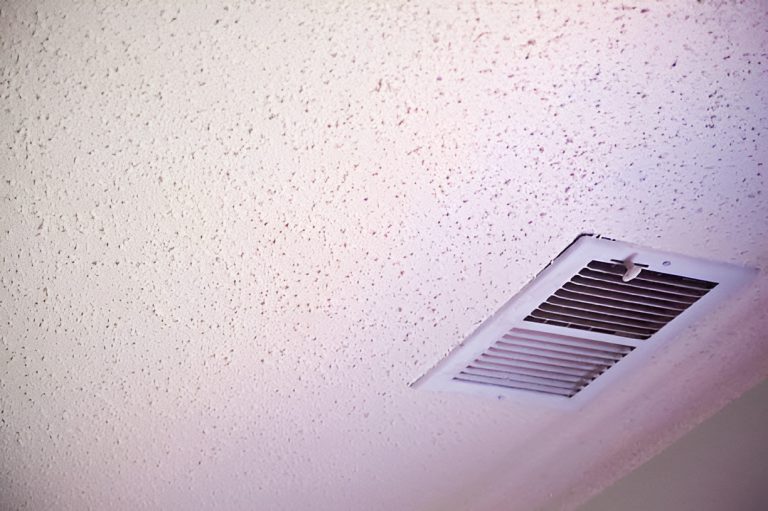
Popcorn ceilings were all the rage in homes built during the 1970s and 1980s. They were easy to apply, helped with soundproofing, and hid imperfections in ceilings. But today, they’re considered outdated, and many homeowners want a smooth, modern look. If you’re planning a renovation, you may be wondering exactly how to remove popcorn ceiling without damaging your drywall. Removing a painted popcorn ceiling can feel intimidating, but with the right tools, techniques, and a little patience, it’s completely doable.
In this guide, we’ll cover everything you need to know to tackle the job, from preparing your space to finishing touches.
Why Should You Remove a Painted Popcorn Ceiling?
If you’re on the fence about whether to remove your popcorn ceiling, consider these reasons:
- Modern aesthetic: Smooth ceilings instantly make rooms feel brighter and more updated.
- Easier to clean: Painted popcorn ceilings can trap dust and cobwebs, making cleaning a challenge.
- Increased home value: Many buyers prefer homes without popcorn ceilings, especially in kitchens and living rooms.
- Potential asbestos concerns: Popcorn ceilings installed before 1980 may contain asbestos. Removing them can improve safety if handled properly.
Can You Remove a Painted Popcorn Ceiling?
Yes—but painted popcorn ceilings are a little trickier than unpainted ones. Paint seals the texture, making it harder for water to soften the popcorn for scraping. This means you’ll need to use careful techniques and sometimes extra tools to loosen the texture without damaging the underlying ceiling.
What Tools Do You Need to Remove Painted Popcorn Ceiling?
Having the right tools can make this task much easier. Here’s a list of essentials:
- Plastic drop cloths or tarps: To cover floors, furniture, and walls.
- Protective gear: Safety glasses, gloves, and a dust mask or respirator.
- Spray bottle or garden sprayer: For applying water or a wallpaper softener solution.
- Wide putty knife or ceiling scraper: Ideally 12 inches wide for smooth scraping.
- Step ladder or scaffolding: To reach higher ceilings safely.
- Sandpaper or sanding pole: For smoothing the ceiling after scraping.
- Joint compound and putty knife: For repairing minor damage.
- Primer and ceiling paint: To finish with a smooth, clean look.
Optional tools that make the job easier:
- Plastic sheeting tape: To seal off areas and minimize mess.
- Power scraper or drywall sander: Speeds up removal for larger spaces.
How to Prep the Room for Ceiling Removal
Proper preparation is key to minimizing cleanup and protecting your home. Follow these steps:
- Clear the room: Remove furniture or move it to the center and cover with drop cloths.
- Protect floors and walls: Lay down plastic sheeting or tarps, and tape them securely along baseboards and walls.
- Turn off electricity: Switch off lights or cover ceiling fixtures to avoid water damage or electrical hazards.
- Ventilate the space: Open windows or use fans to help with dust and drying after scraping.
- Check for asbestos: If your ceiling was installed before 1980, consider professional testing. Removing asbestos-containing popcorn ceilings is hazardous and requires specialized handling.
How to Remove Painted Popcorn Ceiling Step by Step
Removing a painted popcorn ceiling involves softening the texture and carefully scraping it off. Here’s a detailed approach:
Step 1: Soften the Ceiling
Painted popcorn ceilings are sealed, so water alone may not be enough. Try these methods:
- Water and gentle soap solution: Mix warm water with a few drops of dish soap. Spray a small section and let it soak for 10–15 minutes.
- Commercial wallpaper remover: Can penetrate paint better than water alone, especially for heavily painted ceilings.
Step 2: Test a Small Area
Before tackling the entire ceiling, scrape a small corner to see how easily the popcorn comes off. Adjust your water or solution method based on results.
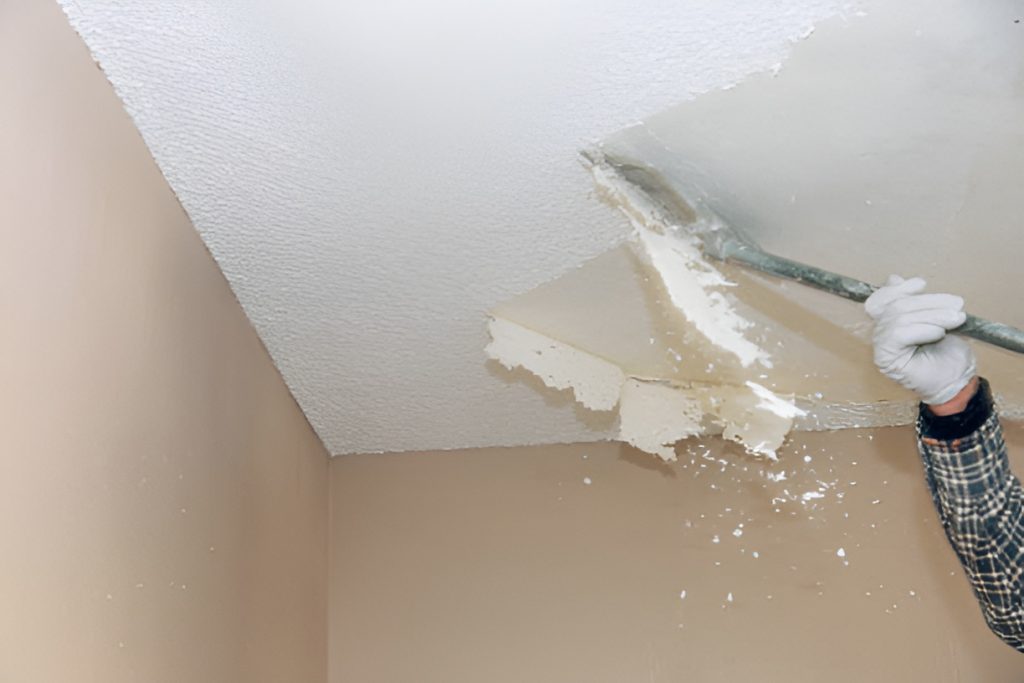
Step 3: Scrape Carefully
Use a wide putty knife or ceiling scraper:
- Hold the scraper at a slight angle.
- Work in small sections.
- Apply gentle pressure to avoid gouging the drywall underneath.
For large areas, a power scraper can make the process faster. Always keep the scraper wet to prevent excessive dust.
Step 4: Repair Minor Damage
Once the popcorn is removed, you may notice minor dents, scratches, or small holes.
- Apply joint compound with a putty knife to fill in imperfections.
- Smooth the surface and let it dry completely.
- Sand lightly for an even finish.
Step 5: Prime and Paint
A primer seals the repaired ceiling and provides a uniform base for painting:
- Use a high-quality ceiling primer suitable for drywall.
- Paint with a ceiling-grade paint in your desired color.
- Consider a flat or matte finish to hide any remaining minor imperfections.
Tips for Making the Process Easier
Removing a painted popcorn ceiling can be labor-intensive, but these tips make it more manageable:
- Work in small sections rather than trying to tackle the whole ceiling at once.
- Keep a spray bottle handy to re-wet areas as needed.
- Take frequent breaks—scraping can be physically demanding.
- Use a tarp system for your furniture and floors to minimize cleanup.
- Have a helper for large rooms or high ceilings.
How Long Does It Take to Remove a Painted Popcorn Ceiling?
Time depends on the size of the room and how many layers of paint are on the ceiling. As a rough guide:
- Small room (100–150 sq ft): 3–5 hours.
- Medium room (200–300 sq ft): 6–8 hours.
- Large room (400+ sq ft): 1–2 days.
If your ceiling has multiple layers of paint, add extra time for soaking and scraping.
Can You Remove Painted Popcorn Ceiling Without Making a Mess?
Completely? Almost never. But you can minimize mess:
- Cover floors, furniture, and walls with heavy-duty plastic sheeting.
- Use a spray bottle to wet sections as you go, which reduces dust.
- Consider renting a HEPA-filter vacuum for cleanup during scraping.
Common Mistakes to Avoid
- Skipping the test section: Every painted ceiling reacts differently to water or solutions.
- Scraping too aggressively: You risk damaging the drywall underneath.
- Ignoring asbestos concerns: Safety first—test before removing.
- Skipping primer: Paint won’t adhere evenly without a proper base.
- Using the wrong tools: A narrow putty knife is frustratingly slow for large ceilings.
Alternatives to Removing Painted Popcorn Ceiling
If scraping sounds overwhelming, there are other options:
- Ceiling overlays: Install new drywall or ceiling tiles over the popcorn texture.
- Skim coating: Apply joint compound over the existing popcorn to create a smooth finish.
- Professional removal: Hiring a contractor ensures safety, speed, and a polished result.
Final Thoughts
Removing a painted popcorn ceiling isn’t a one-day task, but with proper preparation, the right tools, and patience, it can transform your space. Whether you choose a DIY approach or hire a professional, understanding the steps, techniques, and potential challenges will help you achieve a smooth, modern ceiling that elevates your home’s style.
Remember: preparation is just as important as execution. Protect your furniture, cover your floors, and work in small sections. With persistence, your outdated popcorn ceiling can become a thing of the past.